Examiner: File Manager
Examiner: File Manager Overview
The audit and evaluation process depends on documentation and evidence to show that an organization has achieved compliance with a control. In ITAM much of that evidence consists of files uploaded into the appropriate fields in a form. These files may be images, text, affidavits, spreadsheets, or almost any other type of file that conveys the information needed. The File Manager is a convenient way to see the files uploaded by an entity and interact with those files.
File Manager View
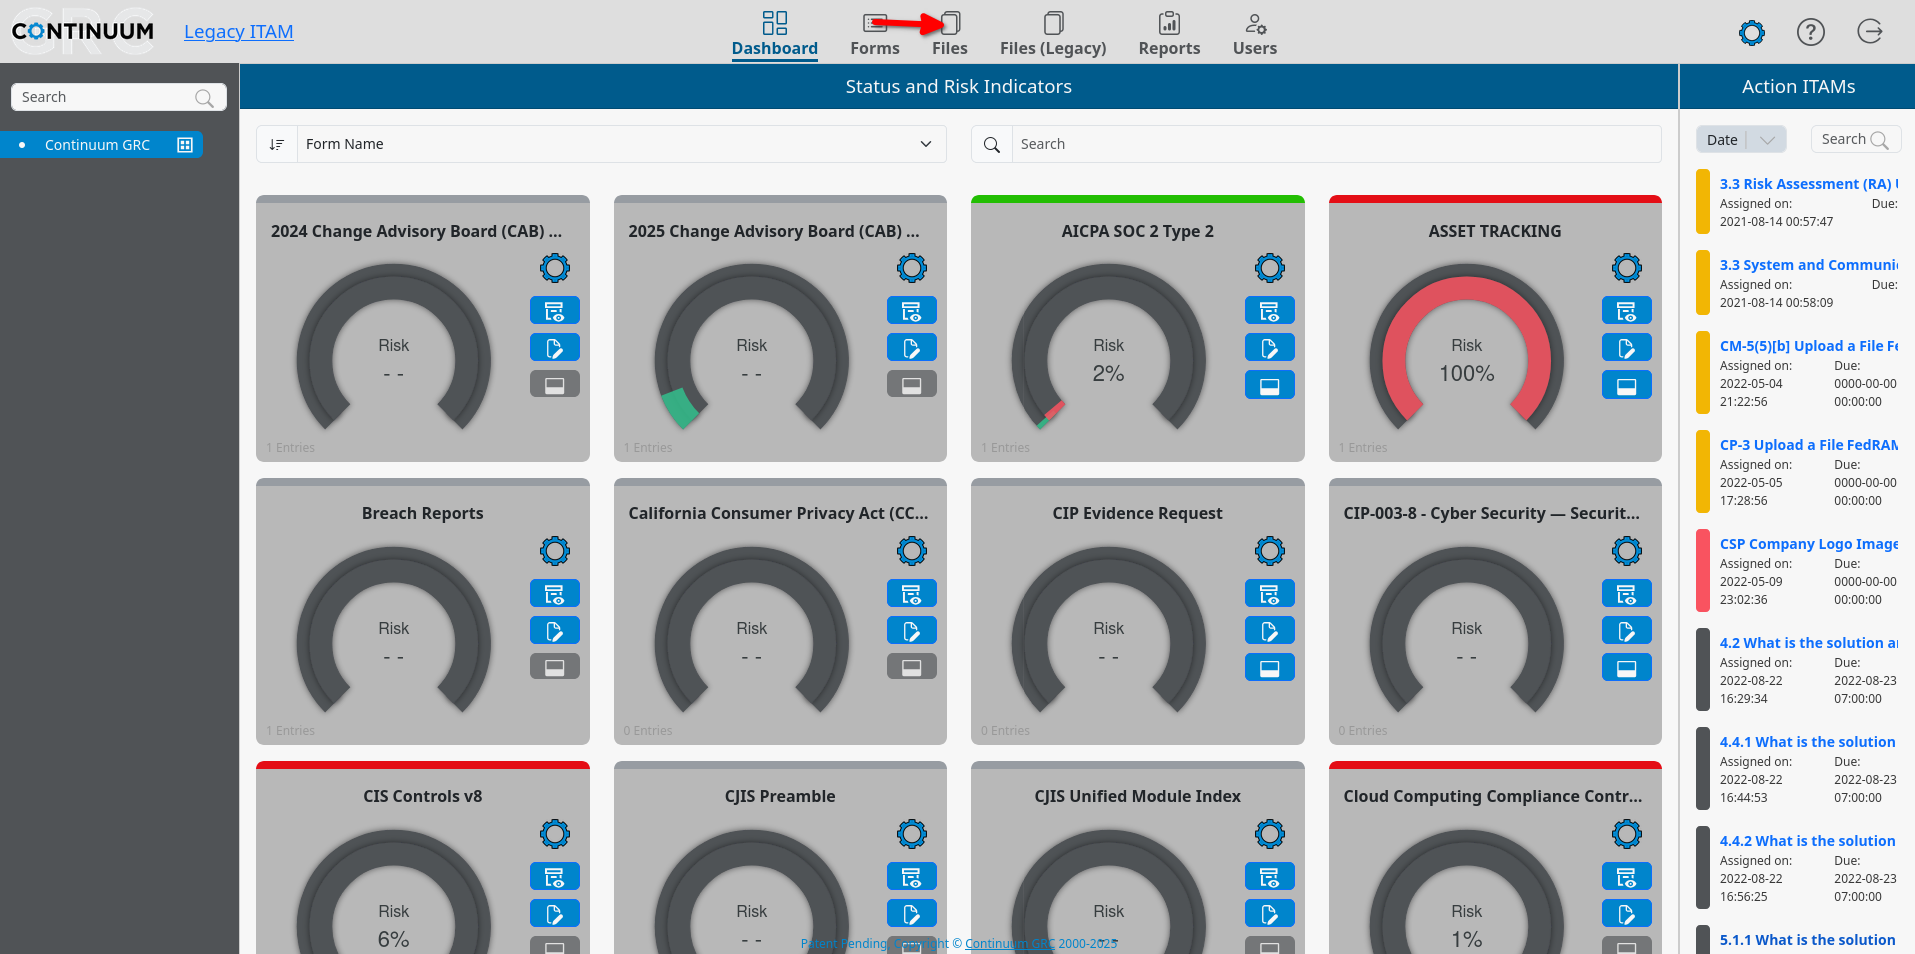
The File Manager is accessed from the main menu by clicking the Files icon in the main navigation.
Selecting an Entity
When the File Manager is first accessed, it typically does not display any file data until an Entity is selected from the Select an Entity dropdown at the top right of the working area. To select an Entity, click on the dropdown, choose the entity whose files you wish to review, and then click the Go button.
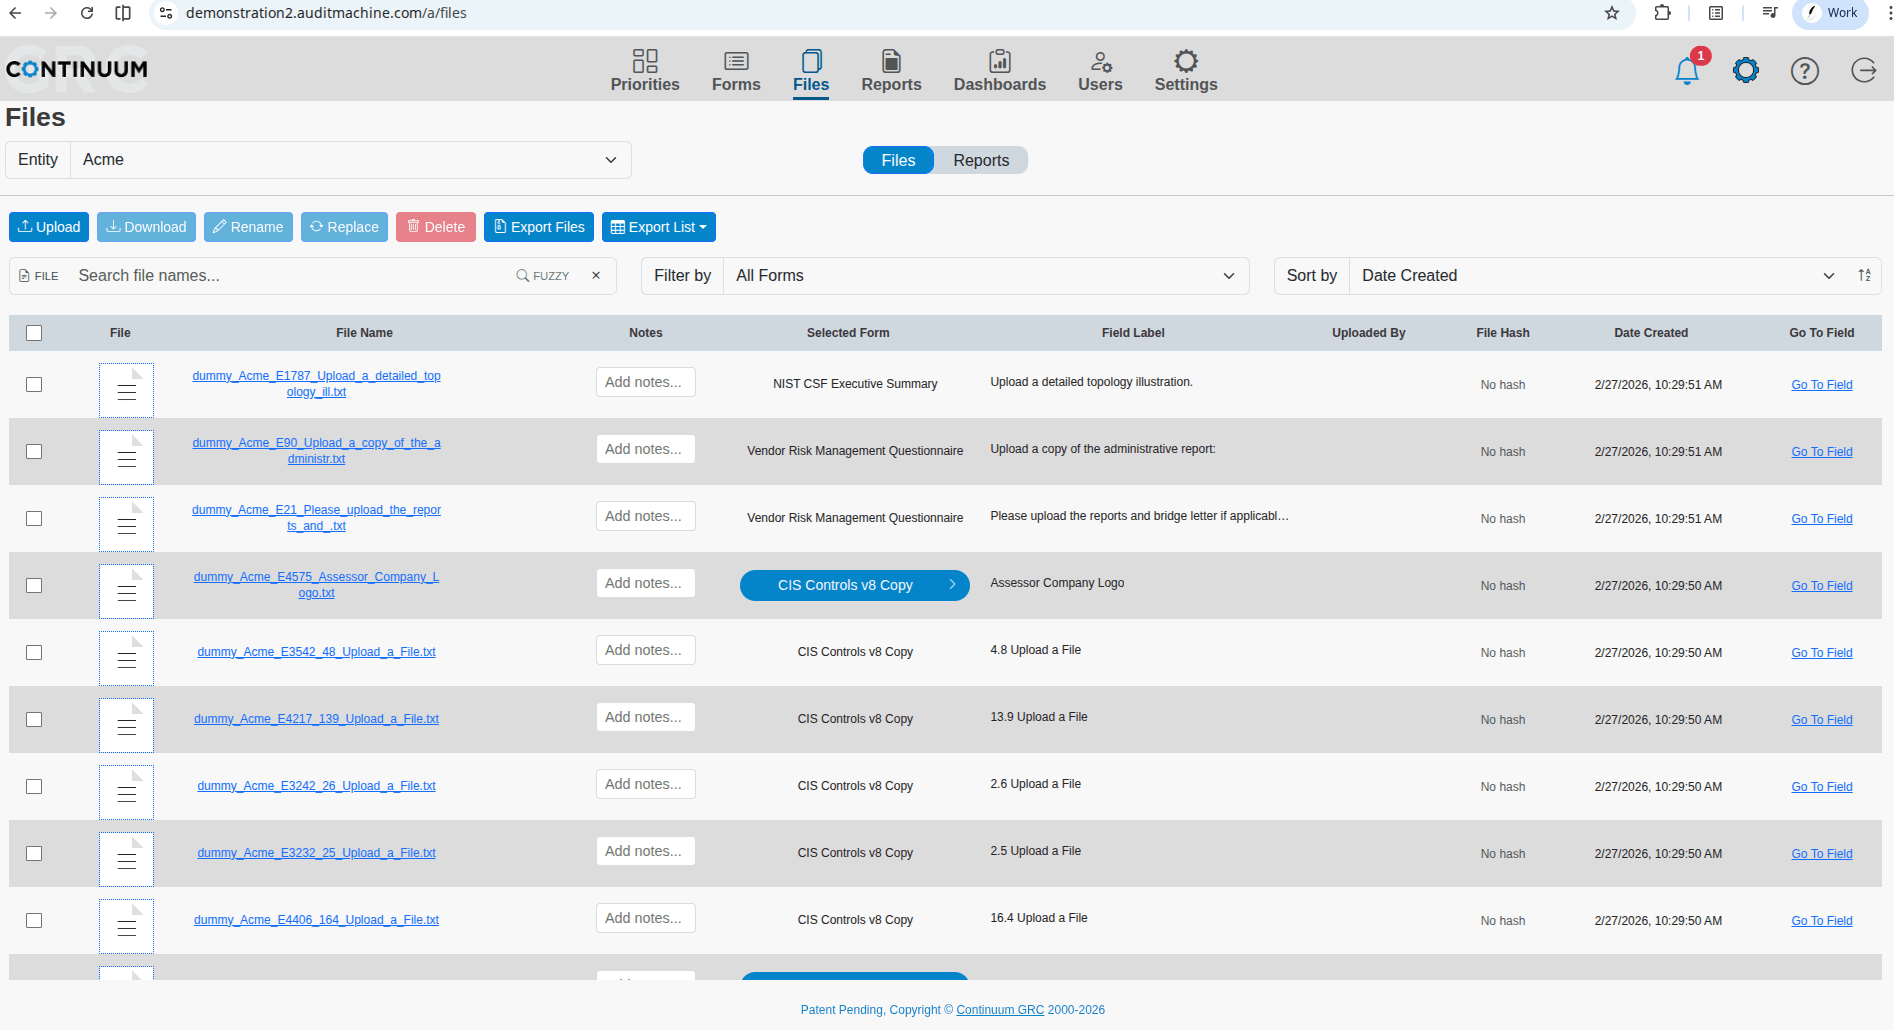
Filtering Files
There are several ways to navigate files quickly. The first is the simple search bar above the files table.
Sorting Files
The File Manager in ITAM includes the same sorting options as many other data lists and reports that the system provides. The System will highlight an arrow next to the field currently used to sort the data, with an arrow pointing up for ascending and down for descending. Clicking a column title changes the sort to that field. Clicking the title of a column again will reverse the direction of the type in that column.
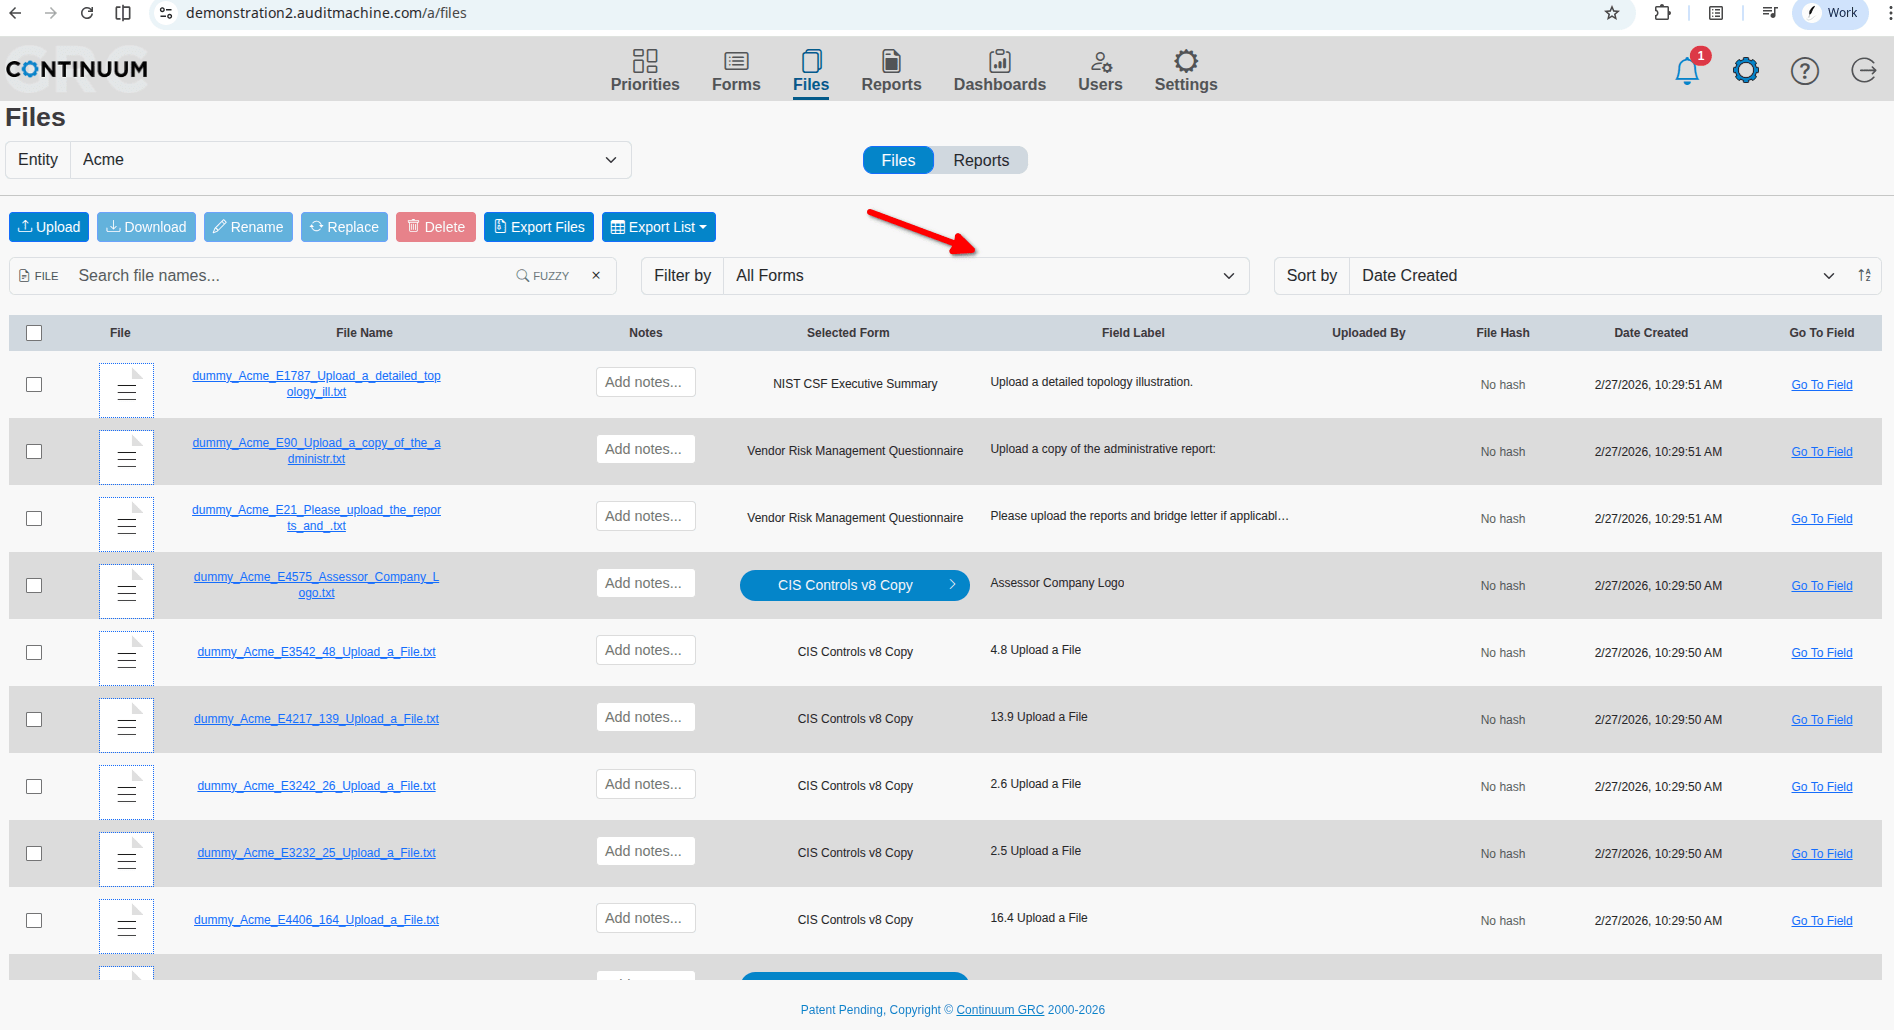
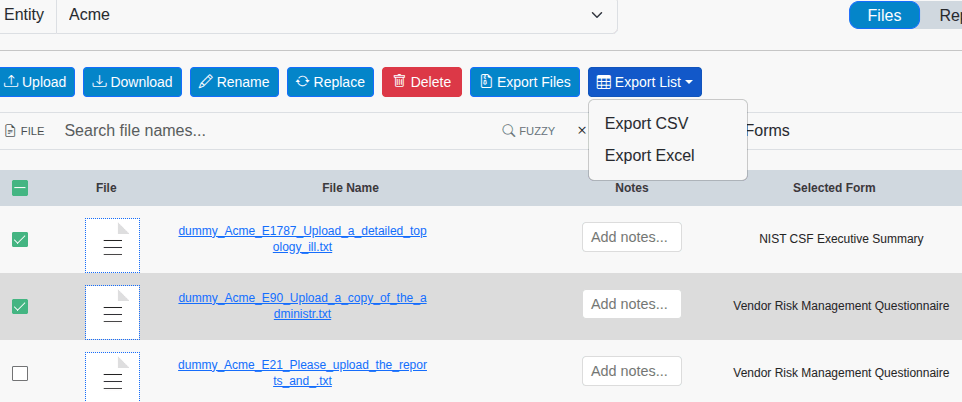
Downloading a List of Files
The list of files displayed on the screen in the File Manager can be downloaded in one of three formats: Comma-Separated Values (CSV), Excel, or PDF. To download the list of files, click on the appropriate button Save as CSV, Save as Excel, or Save as PDF each of which will generate the appropriate file time and initiate a download via your browser.
Note: The list downloaded will contain only the files associated with the current search filter.
File Options
The upper row of buttons provides a list of options you can take with each file. Simply select one or more rows on the table and click on one of these buttons to trigger a task.

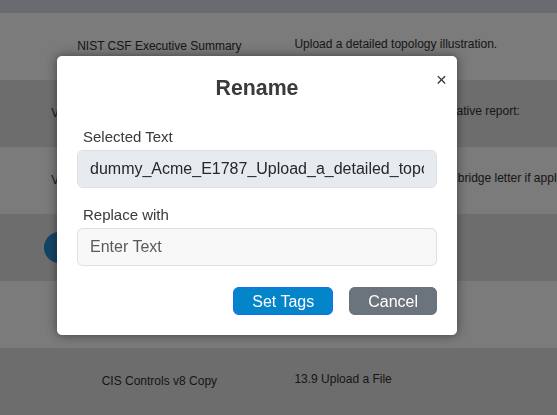
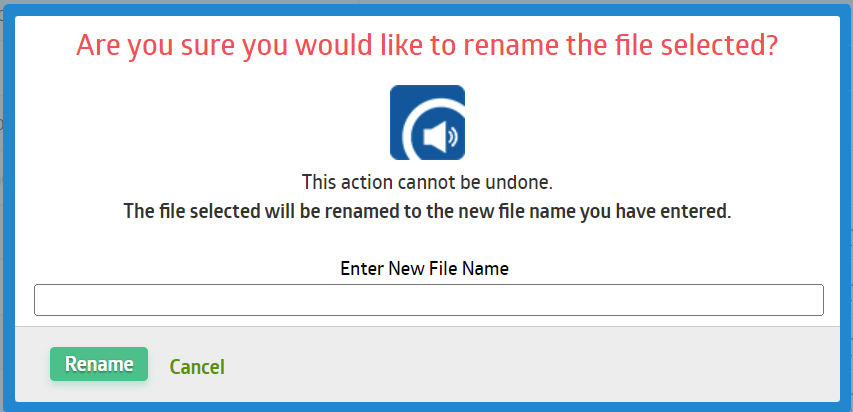
Rename a File
Clicking the link will display a prompt confirming that you wish to rename the file and a field to enter the new name. To rename the file, enter the new name and click Set Tags. To avoid renaming the file, click Cancel.
Note: Renaming a file cannot be undone. You must rename the file to restore its previous name.
Replace a File
When you click the Replace link, you will see an upload dialog. Select a file that will replace the current one with the new one.
Upload a File
You'll be given an upload dialog when you click the Upload link. Selecting a file will upload it and insert its record into the File Management table beneath the current selection.
Go To Field
Each file instance is associated with a form field to which a user has uploaded some data. To jump immediately to that field, click on the Go To Field link on the far right of the table. If a file has more than one instance across several forms, you can click on the form name in the Selected Form button to pick a form field, and then click Go To Field.

Delete a File
In addition to downloading files, selecting one or more files in the File Manager also gives the option to delete them. To do so, click the Delete button displayed when one or more files are selected. The files will be deleted immediately, and a deletion notice will be displayed.

Note: When deleting files using this functionality, there is no confirmation before deletion. Only use it when you are sure you want to delete a file.
Replacing a File
Each entry in the File Manager includes a link to replace the file. Clicking this link will open your computer’s file selection interface. Select a file, and ITAM will upload it, replacing the existing file.
Uploading a File
Each entry in the File Manager comes with a link to upload a file. Although the link is on an entry, the Upload feature will create a new entry rather than modify the selected one. Clicking the Upload link will open your computer’s file selection interface. Selecting a file will upload it to ITAM and associate it with the same form and field as the original file.
Viewing the Field Associated with a File
Each entry in the File Manager includes a link to the field associated with the file. Clicking the Go To Field link takes you to the field in the form where the file was uploaded.
Ready to build your Roadmap to Risk Reduction?
Call 1-888-896-6207
Call 1-888-896-6207
Start Your Free 14-Day Trial
FedRAMP Authorized GRC Platform Featuring the World's First AI Auditor