Examiner User Manager
Examiner User Manager
In some organizations, only one person is responsible for creating forms and working with the people who use them. In many organizations, however, different roles are completed by different people with different skills and knowledge. The User Manager is the key tool through which ITAM allows you to create and manage users, assign them permissions, and archive or delete them when they no longer require access.
This section will discuss the User Manager, the available user types, and how to work with each type. We will also discuss portal entities and how to create and manage them.
Accessing the User Manager Interface
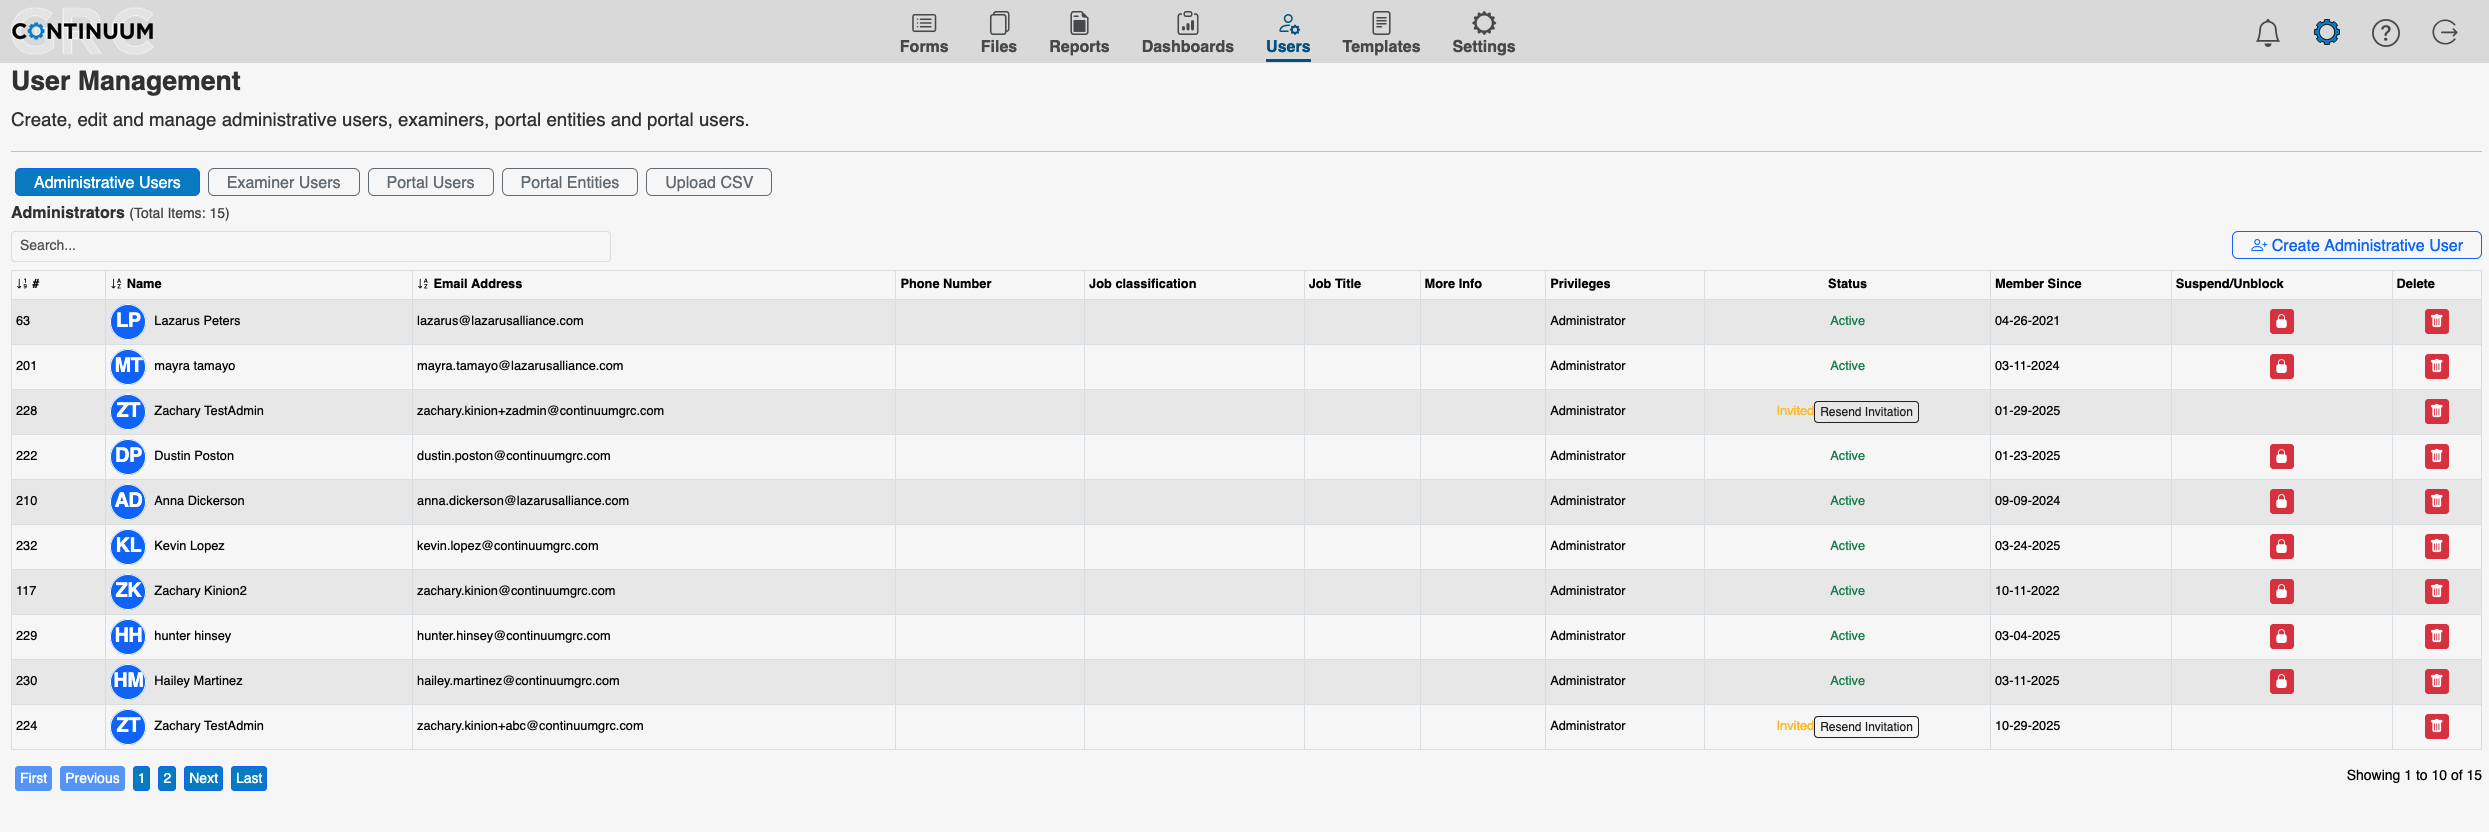
The User Manager interface can be accessed via the Manage Users button on the main menu.
The User Manager allows management of three (2) user types (Examiner and Portal) and the related Portal Entities. These options are available via the tabs at the top of the main User Manager screen. Switching between tabs changes the type of user (or entity) the manager manages and displays options specific to that type.
Managing Examiner Users
Examiner Users fill a gap between Portal Users and full Administrative Users. They are similar to Portal Users except that they can review the work done by other Portal Users in their entity. They can also update dashboards, but they lack the full administrative capabilities of the Administrative Users.
![]()
Adding Examiner Users
You add a new Examiner User by clicking the Create Examiner User button in the top right corner. This will take you to the Users Manager > Add User interface. Adding an examiner user is a simple 2-step process:
1. Enter User Information
- Full Name - Enter the full name of the new user.
- Email Address—Enter the new user's unique email address. This will be used as the user's ITAM login username.
No two Administrative or Examiner users can have the same email address.
2. Select Entity Permissions
Select one or more existing Entities to add this user to those entities. If the related Entity does not exist, it must first be added before the user can be created. When done, click the Add Exminer button at the bottom of the interface to create the user.
After submitting the selected options for the new user, you will be returned to the Users Manager screen, which displays a success notification.
The new User will not be able to access the account until they respond to the email invitation and complete the registration process.
Managing Portal Entities
Entities are logical groups of users and often represent organizations with which users and forms are associated. Depending on how your organization uses the IT Audit Machine, you may see your organization represented by a single entity, or you may have multiple entities in your portal. Some organizations use entities to represent different departments. If your organization creates forms used by other entities, you will see them here and be able to manage them through this interface.
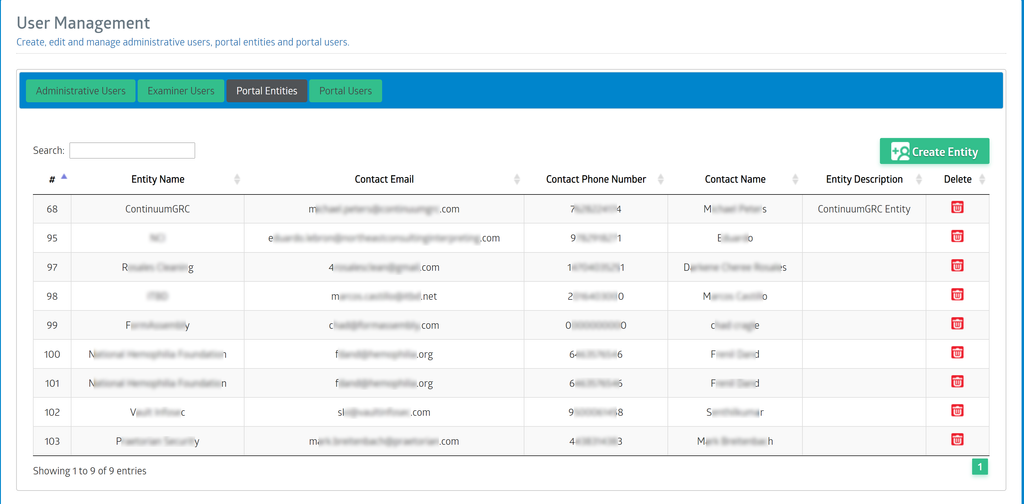
Entities are used to segregate some data, especially in reporting.
Adding Entities
Entities are added using the Create Entity button, which will display the Add Entity screen.
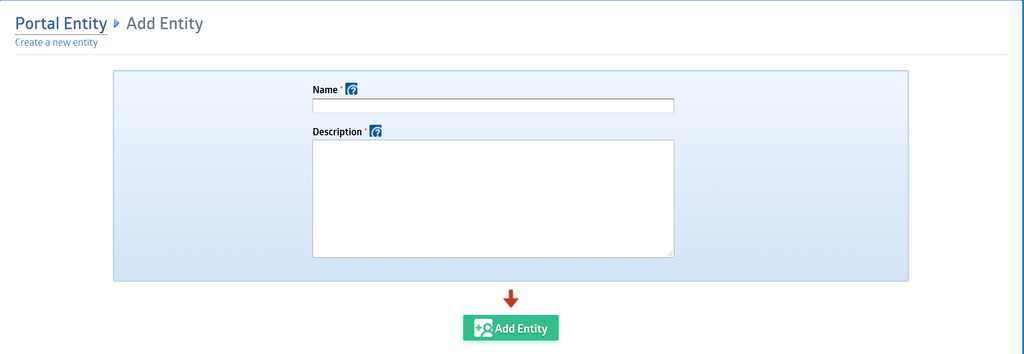
-
Name: The name by which the Entity will be known.
-
Description: A description of the Entity
When the information has been entered, click the Add Entity button to complete the addition of the Entity.
Edit Entity
Clicking an entity in the entity list will pull up the Edit Entity screen.
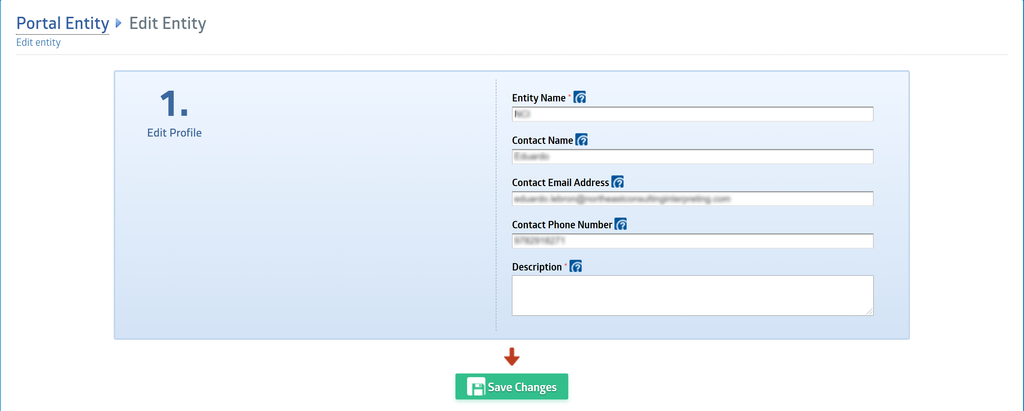
Like users, some information about the Entity is only editable after the Entity has been created.
Make any changes needed and click Save Changes to complete the edits.
Deleting an Entity
Deleting an entity is possible, but should be approached with caution. Like the other records in the User Manager, the delete button is part of the entity record.
A deleted entity will no longer have access to ITAM.
Managing Portal Users
Portal Users are users who will access and use forms associated with entities in ITAM.
Adding Portal Users
You add a new portal user by clicking the Create User button in the top right corner. This will take you to the Users Manager > Add Portal User interface. Adding a portal user is a simple 2-step process:
Enter User Information

-
Full Name - Enter the full name of the new user
-
Email Address - Enter the unique email address of the new user; this will be used as the user's ITAM login username.
2. Select Entity
Enter a full or partial name of an existing Entity to perform a search to add this user to that Entity.
Once the user information is entered or selected, click the Send User Invite button to invite the user into the portal as a Portal User.
Editing a Portal User
A user’s profile, privileges, and permissions may be modified at any time via the Users Manager.
Selecting a user from the user list in the Users Manager will display the entities associated with the Portal User, the basic automation options, and log links. To edit the user settings, click the Edit link in the control pane on the right of the user information, as shown below.
The Edit User screen has two main sections. In the first section, the user can edit their general profile information.
Note: Since the MFA is required for Portal Users, there is no option to Enable/Disable MFA.
In the second section, the user's Entity can be updated and associated with additional Entities.
Make sure to click on the Save Changes button to complete the edits.
Automated Suspensions
These features are accessed within the Administrative Portal under the users listed in the Portal Users table. Selecting a specific user will advance you to the administrative account management function.
- Automatically suspend account after a specified date: An examiner can set an automatic expiration date for a User Portal account. Doing so will prevent the user from accessing the IT Audit Machine from the same account. This feature is handy when you provision temporary access or have seasonal users you want to suspend temporarily.
- Automatically suspend account for inactivity after: An examiner may set an automatic suspension on a User Portal account if the user has not logged into the IT Audit Machine after a specified number of days. Doing so will prevent the user from accessing the IT Audit Machine with the same account if they are not actively using it. This feature is part of a defense-in-depth security strategy to prevent active but unused accounts from remaining open on the system. Corporate IT access control policies generally specify the parameters to enter.
- Automatically delete account for inactivity after: An examiner may set an automatic deletion on a User Portal account if the user's account has already been suspended. The examiner will set the automatic account deletion to occur after a defined number of days following the account's automatic suspension. This feature is useful for permanently deleting suspended Portal Users in the Audit Machine. Corporate IT access control policies generally specify the parameters to enter.
Note: Suspending a user does not delete any forms or data entries associated with that user. The forms created by the user will remain available to examiners and all other users with permission to access them.
Delete or Suspend a User
All user types can be deleted or suspended as needed. The options are available when viewing the list of users or a single user in the User Manager.
-
Deleting a User: Deleting a user account prevents the user from accessing the IT Audit Machine content. The affected user privileges, permissions, and their profile are deleted from the IT Audit Machine.
-
Suspending a User: Suspending a user account blocks it from the IT Audit Machine panel. While the user account may still exist with the user's privileges and permissions data remaining in the system, the user is blocked from authenticating for login access. Unblocking the user restores their access to the IT Audit Machine.
Unblock a User
After a user has been suspended, an option to unblock the user will be available.


Doing so will remove the suspension from the user’s account.
Change User Password
All users may have their passwords reset through the Manage User interface using the option in the menu on the right side of the screen.
Reset MFA
Selecting to reset a user's MFA will require the user to reconfigure their MFA settings. The instructions for selecting and setting up the authenticator are on the My Profile page.
Your Roadmap to Risk Reduction is just 2 clicks away with Continuum GRC!
Call 1-888-896-6207 to get your roadmap to risk reduction underway.