Examiner: Form Entries
Examiner: Form Entries Overview
After data has been entered into a form, it is often the job of an Examiner to review the information and evidence to determine the state of compliance. The Entries screen lets you access and review existing entries for a particular form. An entry is a set of data entered into a form. The IT Audit Machine can track more than one set of data for a form, allowing you to view distinct data sets as an organization improves its compliance.
In this section of the Examiner Guide, we’ll look at the Entries for a form and the options available to interact with the data.
View Existing Entries
Accessing the Entries page for a form is done by clicking on the View button, which appears above a form when you click on it in the My Forms view. Clicking on the icon will open the Entries page and show you a list of the current entries and their status.
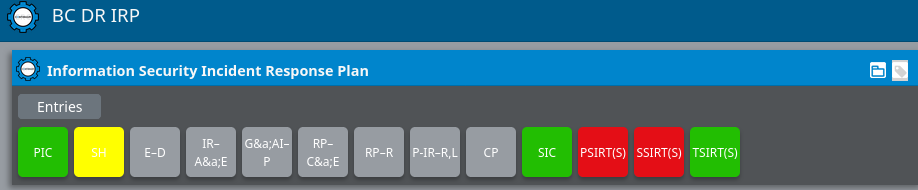
Form Entries View
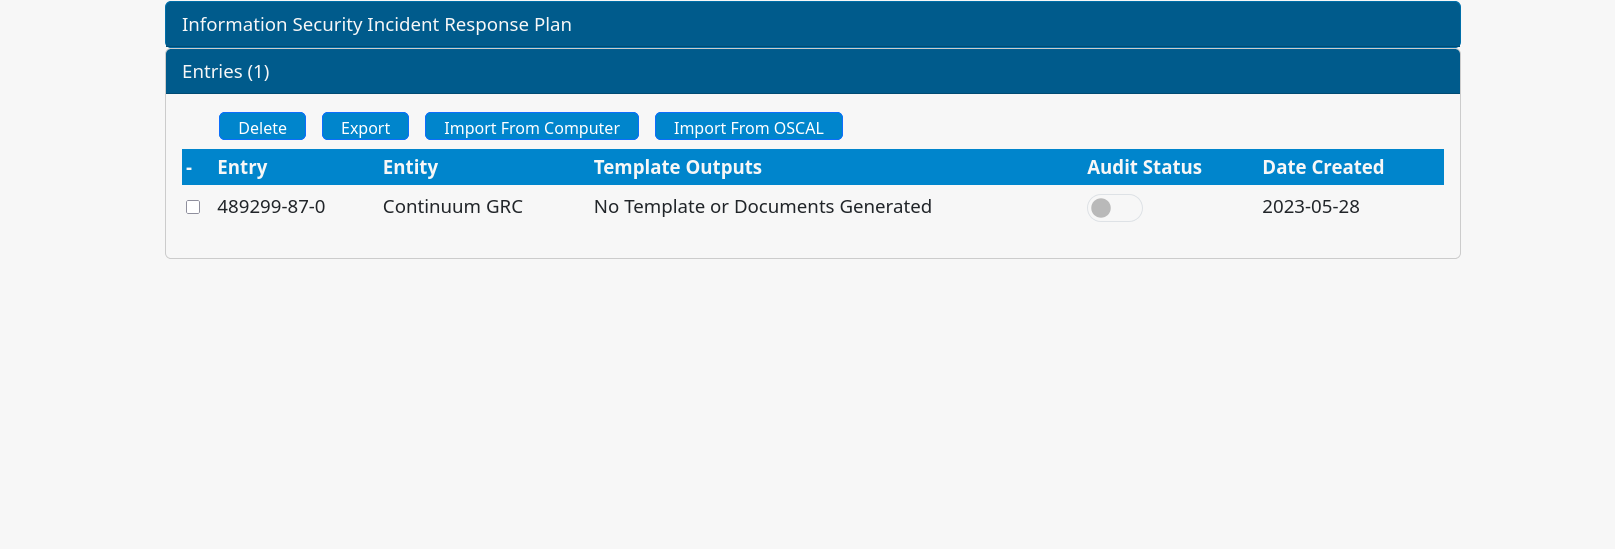
The Form Entries View displays a list of the existing entries on a form. All available data entries for the user’s entity will be displayed in a grid with details showing the entry's ID for that form, the entity in question, any outputs from the template, and the date the entry was created.
On the lower half of the page is a list of Administrators, Examiners, and Portal Users with access to the form with which the entries are associated. At the bottom of the page is metadata about the form, including the Created Date, the Administrator who created the form (Created By), total Completed and Incomplete entries, and the time since the last Entry.
IT Audit Machine allows you to export all form entries to an Excel, CSV, or tab-separated text file. Filter and select the entries to be exported, and then click the Export button at the top left of the Entry Manager list. If no entries are explicitly selected, ITAM will export all entries applying any defined filters.
Import Entries
Previously exported entries can be imported as a ZIP file of data. Clicking on the Import From Computer button in the Entry Manager will open a dialog on your computer to select the file for import. Select the file you wish to import and click Open to import.
Deleting Entries
Entries can be removed from a form using the Delete button in the Entry Manager. Select one or more entries from the list and click the Delete button. Doing so will display a prompt asking for confirmation of the deletion.
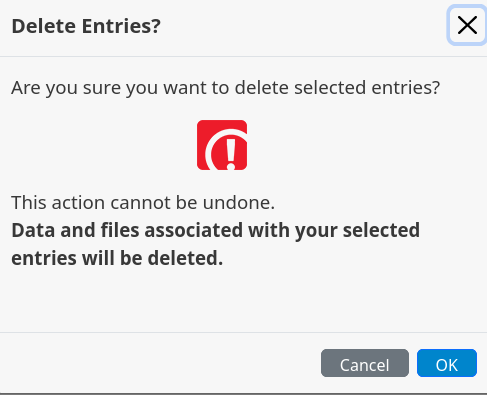
Note: Deleting an entry cannot be undone, so use this feature only if you are sure you no longer need the data.
Audit Mode
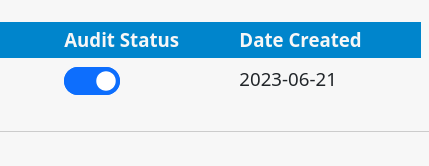
An entry can be set in Audit mode via a toggle button visible on the list of entries on the dashboard. Audit mode places that specific entry on the form in a read-only state, where no regular users can edit it. This is frequently used for a final QA Review before completing the Audit process, but it can also temporarily freeze the state of the entry so it can be reviewed.
Single Entry View
You can click on any entry in the list from the Form Entries View to be brought to the Single Entry View for that entry.
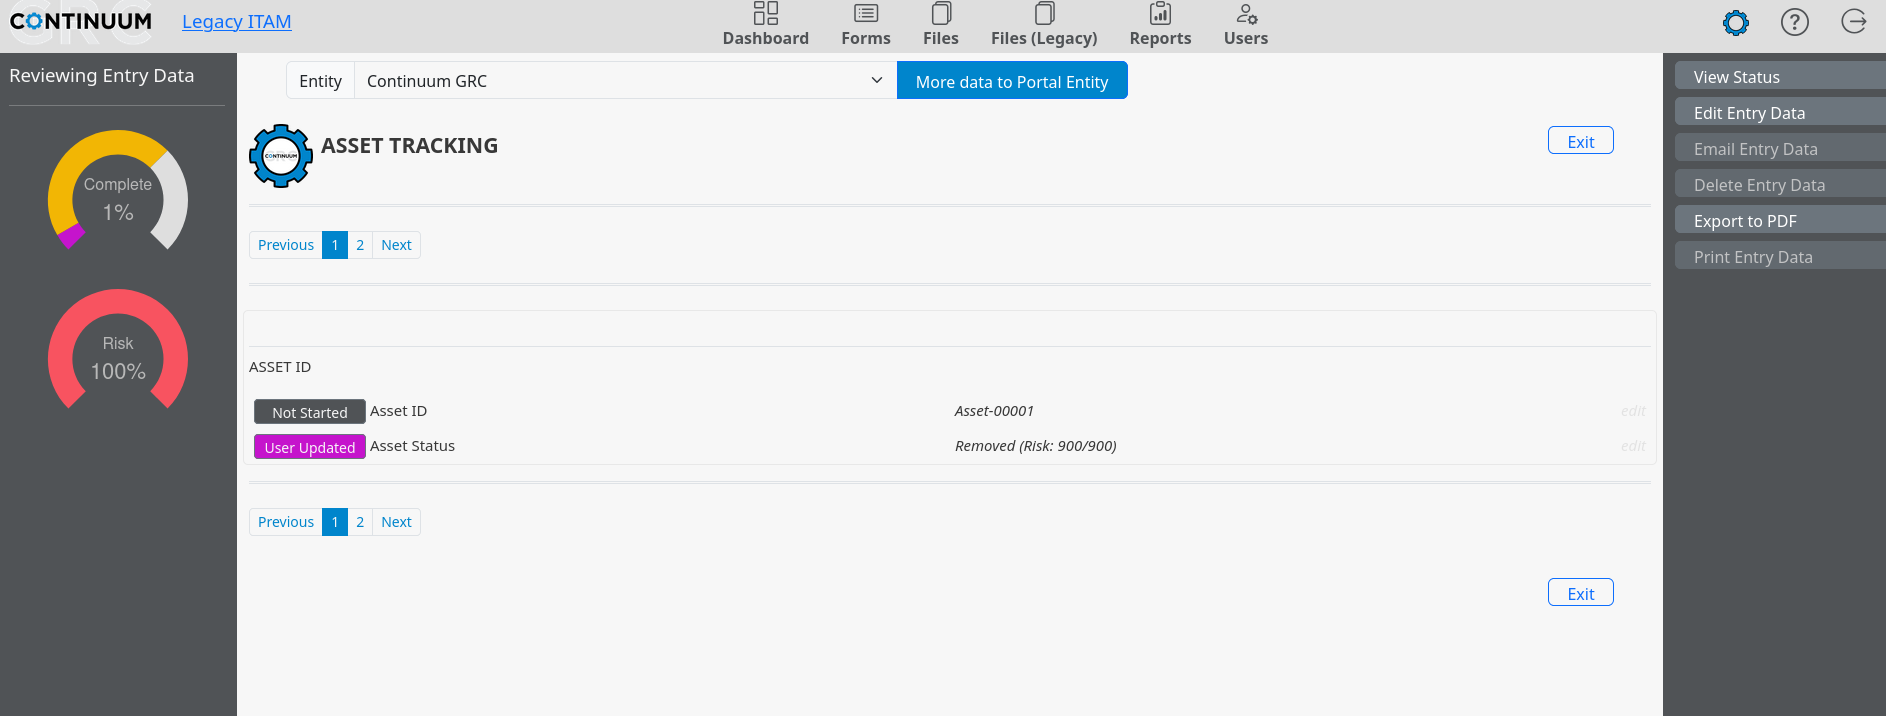
When viewing an entry, you will first see the current calculated scores for the information. The values are based on the status of the fields in the form as evaluated by the auditor who reviewed the data, and the score is automatically assigned based on the responses given in specific fields. They are displayed in the form of a set of ring graphs.
Below the score graphs will be a link to the related reports, if applicable, which are generated based on the data entered. Under those will be a list of each field in the form, in the same order they are found in the associated form, as well as a status indicator showing the field's current state, the data entered for that field, and any related score, if applicable. Finally, each line contains an Edit field link that will take you to the specific field in the related form so that the data can be edited.
Changed fields also have a View History link that allows you to see the history of changes made to that field. If needed, the popup showing the history will enable you to roll back a field to an earlier value.
Navigating Options
The Single Entry View also includes a local menu in a box on the right side of the page, with several options to interact further with the data.
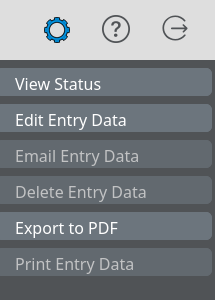
The View Status button brings you to the Status Indicator View, which organizes the data in the entry by grouping them into the status set on each entry. It displays the statuses in a color-coded accordion control, allowing the entries in each status to be displayed or hidden by clicking on the colored bar representing the associated status.
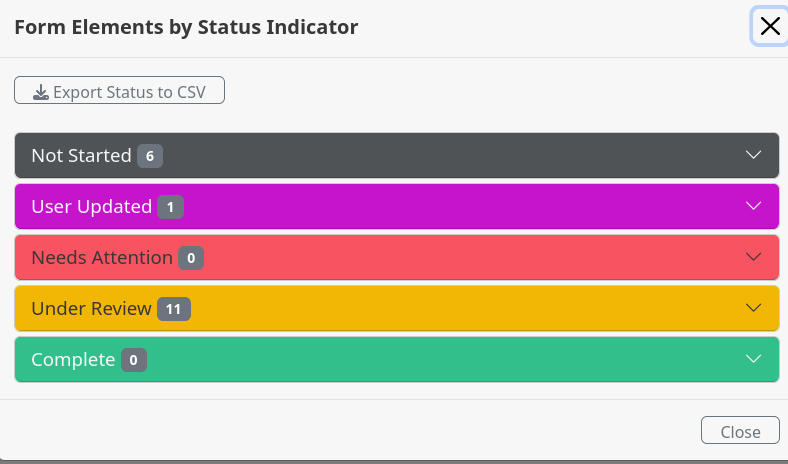
Note: The local menu displayed on the Status Indicator View page is the same as the central Single Entry View, except the View Status button is replaced with a button labeled Back to Details, which brings you back to the Single Entry View.
- The Entry Entry Data button moves you to the Form Data Entry view, allowing you to modify any data in the form.
- The Export To PDF button generates a PDF of the form data and initiates a document download.
- The Print Entry Data button initiates your browser's print function and creates a print-friendly page version.
Your Roadmap to Risk Reduction is just 2 clicks away with Continuum GRC!
Call 1-888-896-6207 to get your roadmap to risk reduction underway.