The Continuum GRC Basic User’s Guide
Table of Contents
ToggleThis guide will help familiarize you with user portal features and learning what to expect to make your experience a great one. If you need assistance with the Continuum GRC Administration Portal, please refer to the system documentation.
You will either register and account for yourself using unique credentials, or you will receive an email invitation from someone else who wants you to join their existing group or entity to complete the account registration process.
The URL for your system may be different depending on your company, organization, invitation, or affiliation, but the process is similar. The URL may be https://subscribers.auditmachine.com/portal/
First step is to click “Register a New Account” on the login screen.
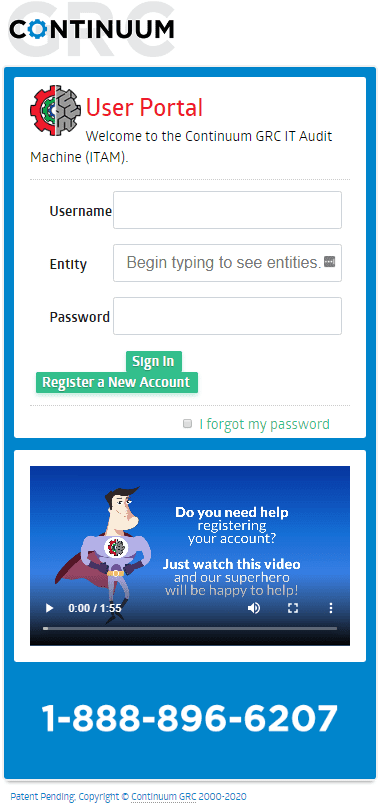
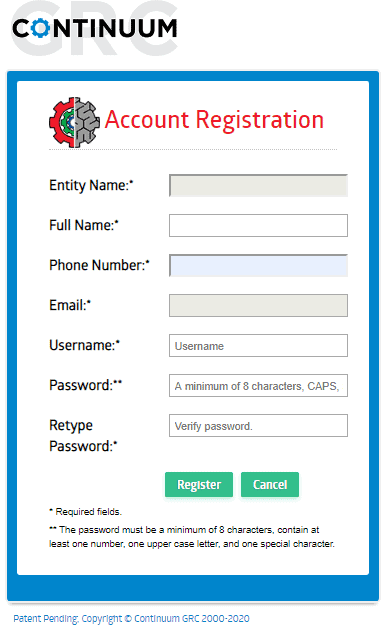
Completing the registration process.
Complete the “Account Registration” by populating the following fields:
Note: All fields are required
- Entity Name: This is the name of your business or group. If you are creating a new entity group for yourself, this must be unique. Someone else may have already used the entity name and the system will show you existing names. Simply choose another one for yourself. Alternatively, someone you know may have invited you to their group and an email invitation would have been sent to you already.
- Full Name: This is your name unless you are registering for another individual
- Phone Number: This is your phone number unless you are registering for another individual
- Email: This is your email unless you are registering for another individual
- Username: Create
- Password: The password must be a minimum of 8 characters, contain at least one number, one upper case letter, and one special character.
- Retype Password:
Finish the process by clicking the “Register” button.
Completing the multi-factor authentication (two-factor) process.
It is your choice to select either Option 1 or Options 2.
For Option 2, your email address will be prepopulated. Simply click the “Submit” button under your email address, and a code will be emailed to you. Enter that code into the verify field and finish the process by clicking the “Register” button.

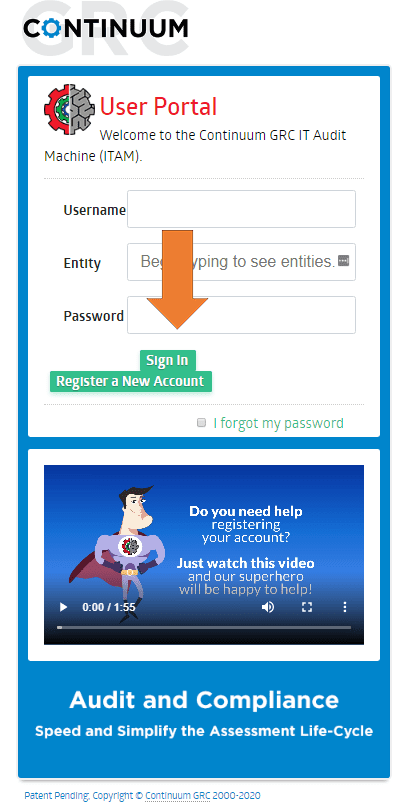
Now that your account credentials are created, it is time to log into the Continuum GRC ITAM user portal.
- Username: The Username you created during the
registration process or email address - Entity: The Entity Name you created during registration
(This is the name of your business or collaboration group) - Password: The Password you created during registration
Once you have completed entering everything, click the “Sign In” button.
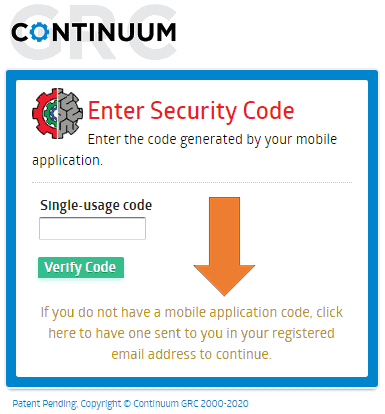
Part of the login process requires entering your unique two-factor authentication code. If you used your email address or if you used a mobile authentication application, the process to generate a session code is similar.
Either click the email link to receive your one-time code or enter the code generated by the mobile application you used during the registration process.
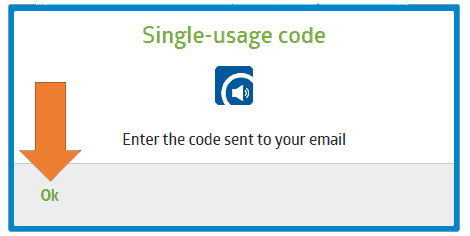
Welcome to the Continuum GRC ITAM user portal.
What you see in your portal depends on what the system administrators have provisioned access to you for.

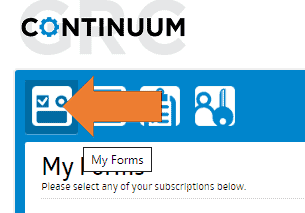
My Forms
You will work more within the "My Forms" section of the Continuum GRC ITAM portal. The forms that you are subscribed to will show up on this screen.
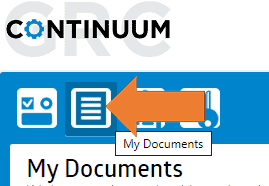
My Documents
Listed are your custom reports and documents created once you've submitted an assessment module or questionnaire specifically associated with your subscriptions
Note: Not all "My Forms" modules produce documents and if you do not see the documents you were expecting to see, please contact your system administrator.
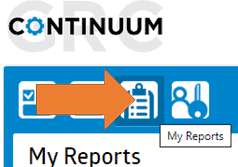
My Reports
Depending on your subscription level, you may not see reports here. Only Continuum GRC ITAM administrators have the ability to create dynamic reports generated from data within the system.
Ask your administrator to set up the Continuum GRC Compliance Dashboard or other real-time dynamic dashboard for you.
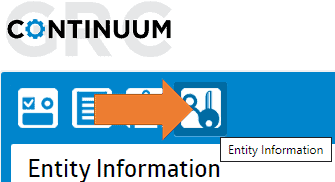
Entity Information
This screen allows you to view the entity information and user accounts as well as invite new users to your portal.
By selecting your account, you may update your multi-factor authentication methods.
You may also manage the other people in your entity group.
Sign Out
If you want to exit the Continuum GRC system, use this menu option to do so.


Saving your work will happen when:
- You advance to the next form field in your form. The previous form field data entries will be saved automatically.
- You advance to the next page in your form. The previous page data entries will be saved automatically.
- You are on the last page of your form and click on the "Submit" button, which will save your session data automatically.
- You click the "Save and resume later" checkbox at the bottom of your form, enter your email address, and click the "Submit" button, which will save your session data automatically.
After an administratively defined period, by default 10 minutes, you will see a pop-up message that counts down from 60 seconds to 0. Unless you click “Keep me logged in” or anywhere on your active screen, you will be logged out and presented with the login screen.
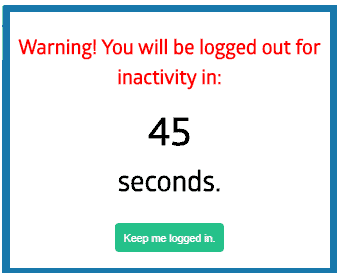
You will also see a countdown clock on the browser tab showing you the time remaining in your session. Clicking anywhere on the active screen will reset the timer.
Field Notes
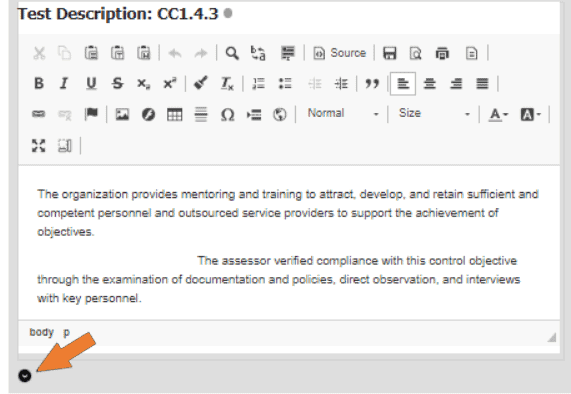
The Field Notes feature is a great way for you and your team to comment on an in-progress form, exchange tasks, or communicate with system administrators. These notes are not transferred or displayed in your modules output reports.
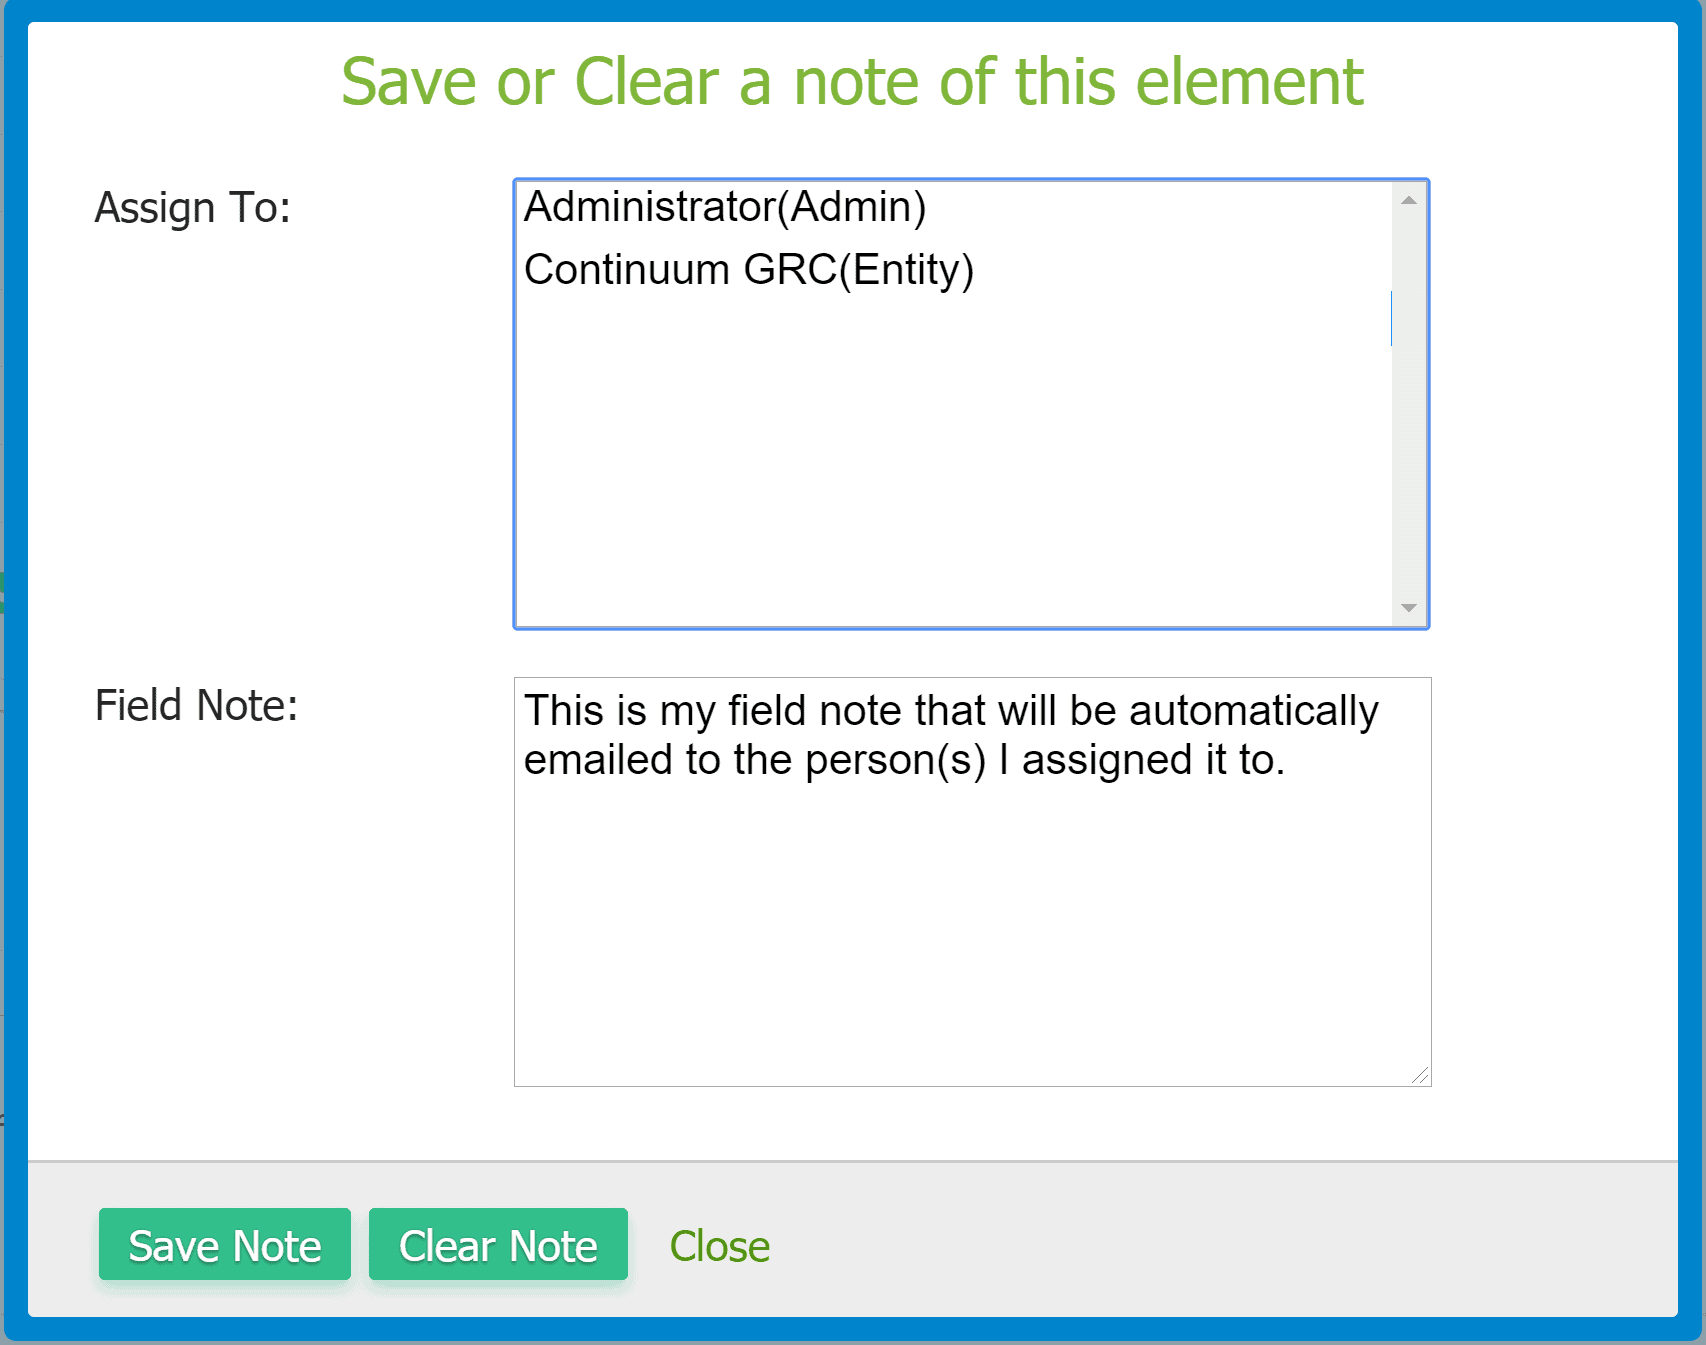
To enter a field note you simply click on the note icon which produces a pop-up window. You may type up to 800 characters into the filed notes window. Also, select a person or multiple people from the displayed list to assign the Field Note to.
Saving your Field Note will automatically email the respondent with the note. The system will send reminders out until the note is cleared.
Thank you!
If you need further assistance, please call 1-888-896-6207 x41 to leave a support request or visit our online Service Management Portal to log a ticket.
If you need assistance with the Continuum GRC Administration Portal, please refer to the system documentation.