The Administrator’s Form Manager
Forms are critical tools for capturing and validating an organization’s compliance data. Many organizations and agencies have used spreadsheets and free-standing documents to capture compliance information. These lacked an excellent way to aggregate and report on data and were difficult to keep organized.
The IT Audit Machine’s Forms Manager is where those forms are kept within the system, and it has the functionality and flexibility needed to craft powerful forms for gathering and interacting with the data your organization needs.
In this section of the guide, we will start with a high-level overview of the Form Manager and the form management capabilities directly accessible from it. Subsequent pages will go into further detail on creating forms with the Form Builder, some of the Advanced Form Management features, and finally, how to interact with the data entries captured via the Entry Manager.
Form Manager View
Navigate to the Forms Manager by selecting the icon at the far left of the main menu bar. You are presented with a high-level view of the available folders and forms. Folders appear in dark blue on the left, letting you organize forms in whatever way makes sense for your organization.
Forms are typically organized by the standard they support, but a folder is simply a container and can be organized however you need. Folders use an accordion-style interface, expanding and contracting when you click the dark blue bar representing the folder.
The right side displays forms that have not yet been assigned to a folder, and it is also where search results appear. Whether a form sits in a folder or on its own, it behaves as an accordion: clicking the bar representing a form displays or hides the icons for that form’s management and editing options. Unlike folders, forms may appear in different colors depending on their status in the system.
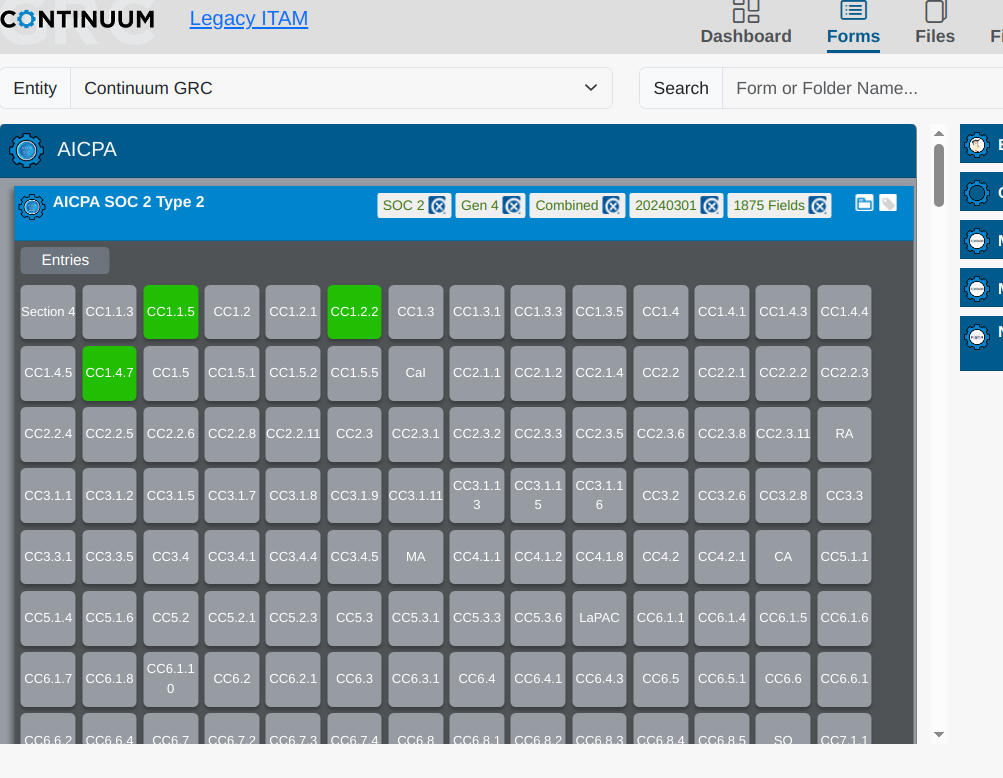
- Clicking a folder name expands it to show the forms within, along with icons to edit and delete them. If entries are marked as completed, you also see an overview of the controls and which ones have been addressed, highlighted in green.
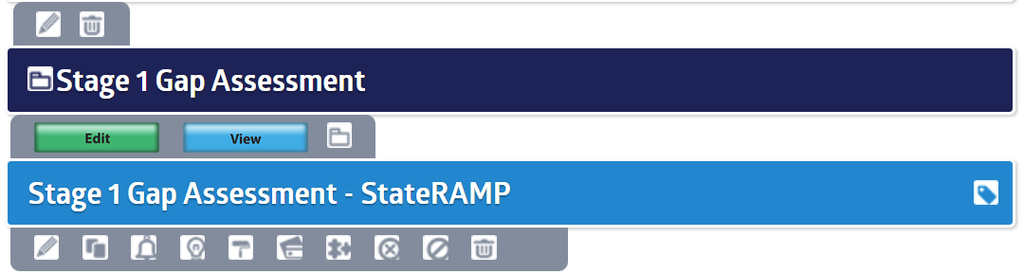
- Clicking a form, whether in a folder or among the unorganized forms on the right, displays the options to manage or edit it.
- For some forms, a set of tiles representing the control groups in the form is also displayed.
From this initial view you can find and work with a specific form, create a new form, or organize forms into folders. Many form options can be selected directly from the Form Manager page, though some are only available while editing or building a form.
See the images below to view how the folders and forms expand when interacted with.
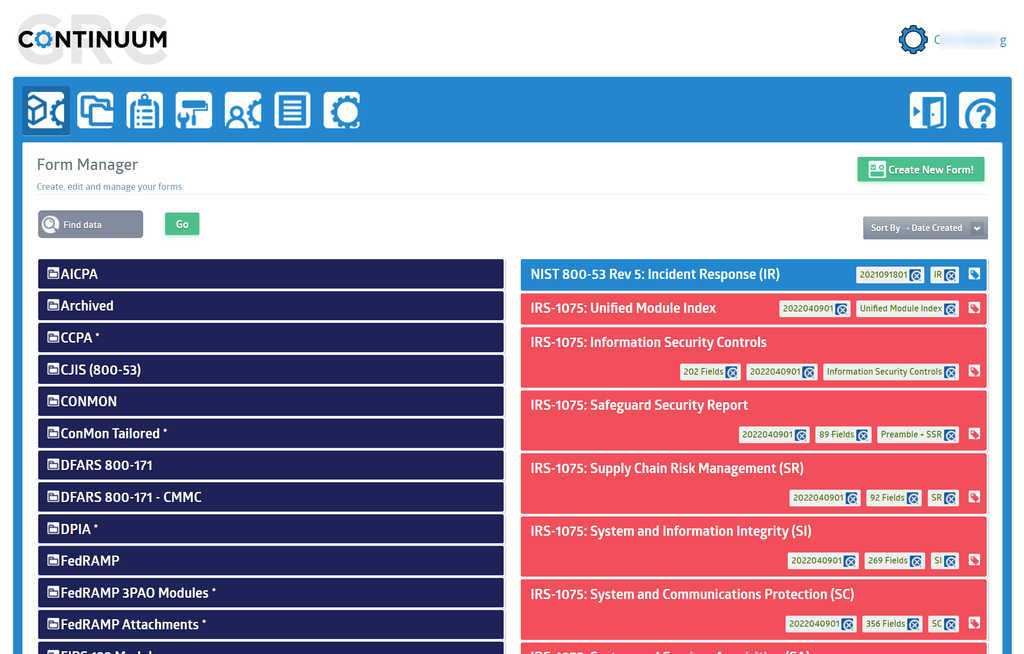
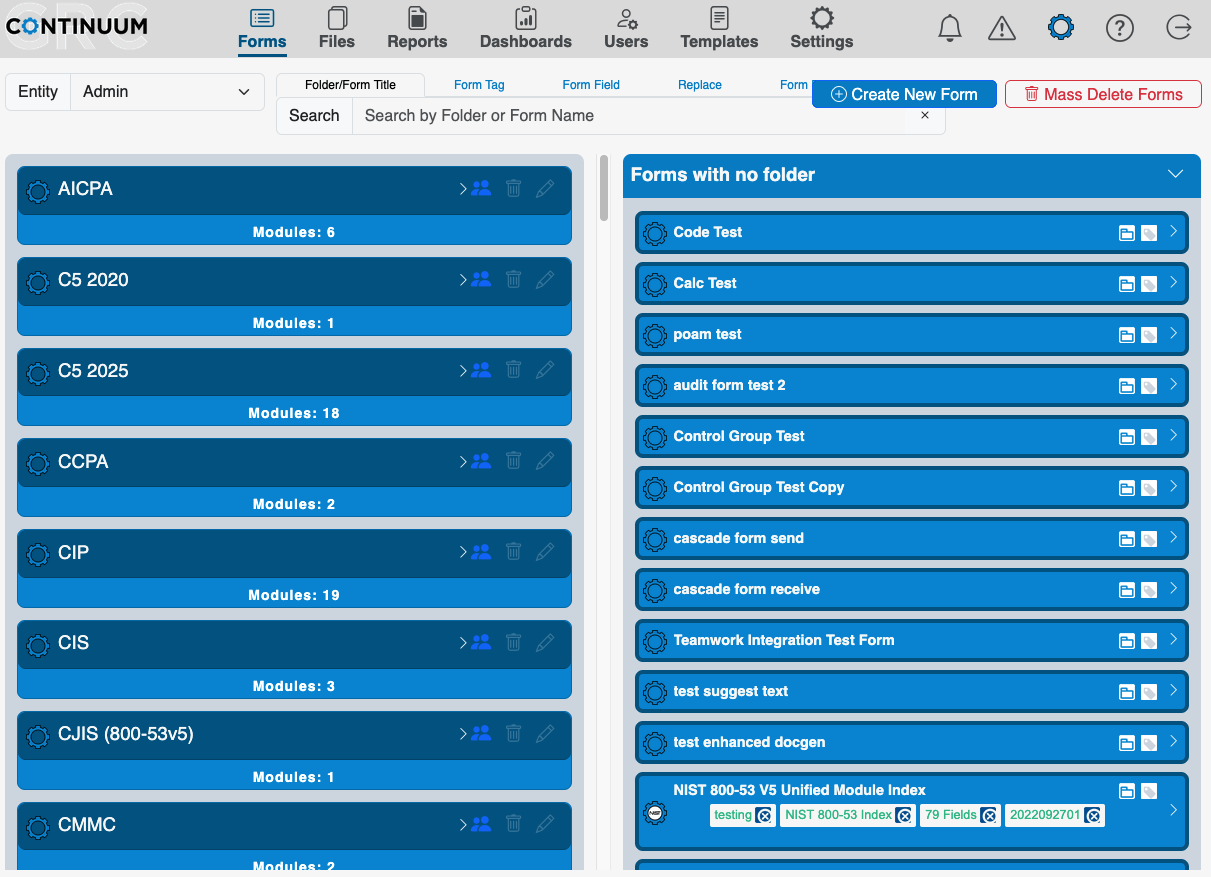
Clicking a name expands that folder to view the available forms within it, along with icons to edit and delete them. Also, if there are entries marked as completed, you will see an overview of the controls and which ones have been addressed (highlighted in green).
Clicking a Form, whether in a folder or among the unorganized files on the right, displays the options to manage or edit the Form.

For some forms, a set of tiles representing any control groups in the form will also be displayed. We will cover these later.
As discussed, from this initial view, you can find and work with a specific form, create a new form, or organize the forms into Folders. Many options for working with a form can also be selected directly from the Form Manager page, though some are only available when editing or building a form. Let us explore most of the capabilities accessed directly from the main Form Manager page: finding a specific form, standard form management options, and working with folders.
Searching and Filtering the Forms List
The search box is located in the center of the dashboard, directly above the form lists. This search function includes four options:

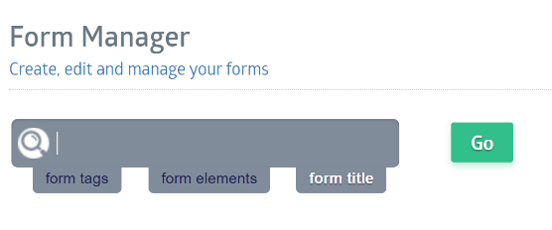
The search box sits in the center of the dashboard, directly above the form lists. It becomes active when you select or click it; type your query and press Enter to run the search.
Above the search bar are five search options:
- Folder/Form Title: Searches across form and form folder titles.
- Form Tag: Searches across all form tags assigned to forms.
- Form Field: Locates specific fields by name across different forms.
- Replace: Performs a standard find-and-replace for specific text data. You receive a confirmation dialog before the change commits.
- Form Entry Data: Locates specific data entered into any form field. Refine the search by matching any words, exact matches, or regular expressions.
Note: Folder/Form Title is the default option. All searches are case-insensitive and allow partial-word matches.
All searches are case-insensitive and allow partial-word matches.
Standard Form Management
The ITAM Form Manager features several tools for working with and managing a form. This section covers many of them. For specifics on creating or editing the questions on a form, see the Form Builder.
Note: Unless otherwise specified, most form management icons are toggled between being displayed and hidden when you click on a form’s name in the Form Manager.
Tagging Forms
If you manage many forms across one or more organizations, the Tag feature is worth using. Tagging lets you create categories and groups of forms dynamically based on the tag values assigned to them. Combined with form search, it lets you quickly find every form carrying a particular value, creating a loose association of forms that is easy to retrieve.
- Delete a tag by clicking the blue X icon next to the tag name on the form.
- Click the tag icon on the right side of the form list entry to launch the Enter a Tag Name pop-up.
- To assign multiple tags at once, enter all the tag names separated by commas.
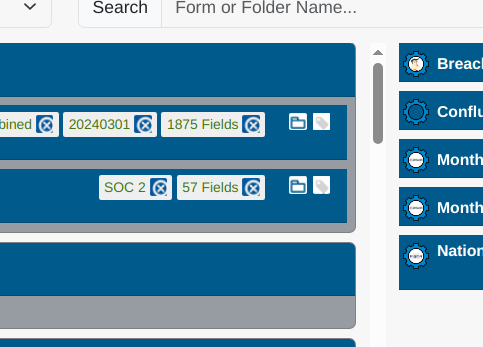

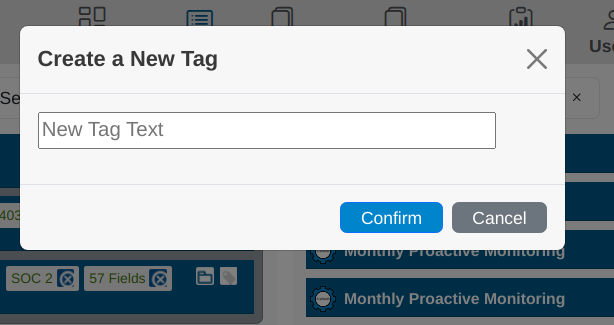
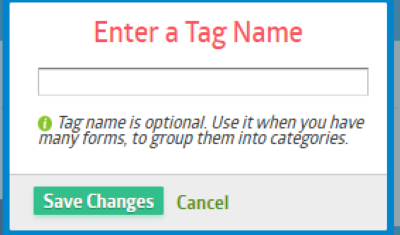
To assign multiple “Tags” at once, input all the tag names and separate them with commas.
A Tag may be deleted by clicking the blue X icon next to the tag name on the form.
Enable or Disable a Form
While developing your forms, it is standard practice to leave them disabled to prevent users from accidentally interacting with a form in progress.
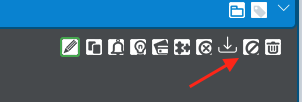
It may occasionally be necessary to close or disable a form temporarily and not accept any new entries. Fortunately, this can be easily accomplished using the Disable icon. Select the form to be disabled, then click the Disable button at the bottom right of the form entry.
Click the blue Confirm button to confirm.
Note that when a form is disabled, the form name appears struck through with a single line, and the Enable button is displayed.
Duplicating a Form
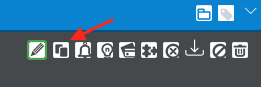
Duplicating a form creates an exact copy of the form, including all settings (notifications, payment, theme). However, it doesn’t copy the entries from the original form. The new copy will have no entries. If you need to create many forms with similar fields, it’s best to create a master form containing all the standard fields. Every time you need to make a similar form, you can duplicate your master form and then modify it further. This way, you won’t need to add all the fields from scratch each time.
Deleting a Form
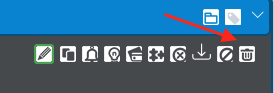
Occasionally, a form may need to be deleted. To do so, click the Delete icon under the form.

Deleting a form will also delete all associated data entries (including file uploads). There is no trash/recycle bin in your admin panel to restore your forms quickly, so use caution.
Canceling a Form
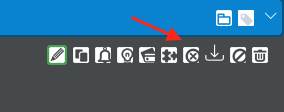
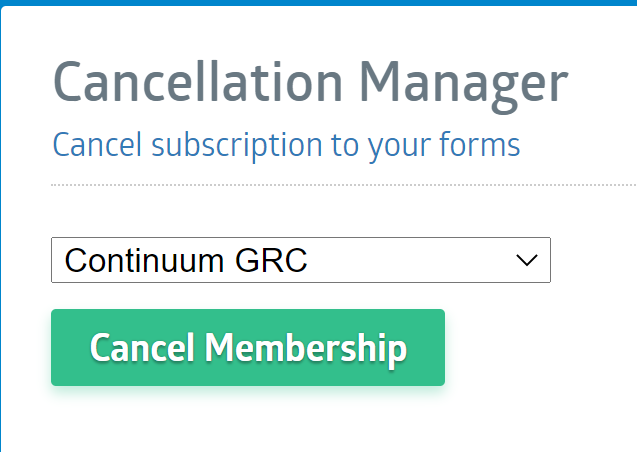
Depending on how your organization is set up in ITAM, you may or may not have other entities subscribed to your forms. Once an entity is subscribed to a form, there may come a time when it is necessary to cancel its subscription. This is done through the Cancellation Manager, accessed via the Cancel Membership icon under the form. If an entity previously subscribes to a form requiring payment, this subscription will persist until you cancel your membership.

Clicking on the Cancel Icon displays the Cancellation Manager, which allows an Administrative User to select the organization/entity they wish to remove from the form and cancel their membership.
Setting Payment Options for a Form
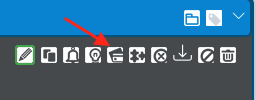
If your organization has clients who access your forms and require payment to use them, the Payment Settings interface lets you configure those options. This interface is accessed via the Payment Settings Icon below the form.

The Payment Settings screen lets you configure the Merchant Settings, Payment Options, and the Price.
Managing Form Entries
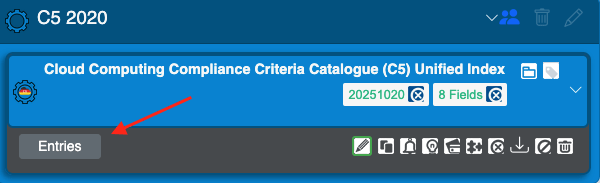
Each form has a series of Entries, or logical instances of that form. This capability lets you manage User data entered on a form. To see a list of entries, click the Entries button in that form’s description. See the User Entry Management section of this Guide for more details.
Folder Creation
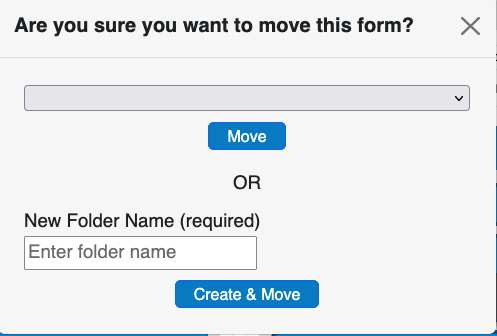
Folders are created by moving a form into a new folder. To do this, select the Folder icon above the form you want to move into the new folder.
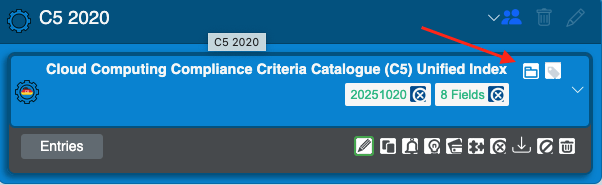
This will open the Move Form dialog, with options to move to an existing folder or create a new one.
Enter the name of the folder you wish to make in the text box provided and click the Create & Move button.
Rename Folder
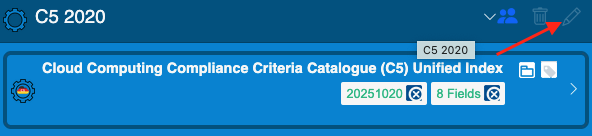
Rename folders using the Rename icon above a folder’s name when the folder is expanded.
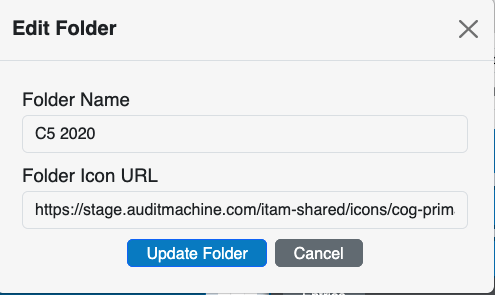
Simply edit the name displayed in the Rename Folder dialog and click the Update Folder button.
Delete Folder
When expanded, folders are deleted using the Delete icon above a folder’s name.
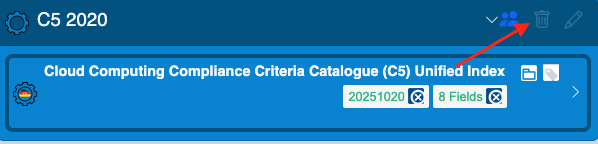
Clicking this icon displays the Delete Confirmation dialog.
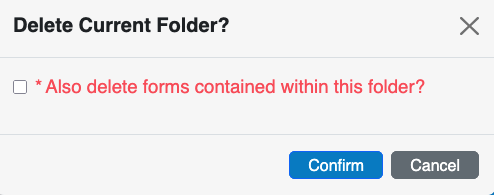
To complete the folder deletion, click on the green Confirm button.
Warning: Deleting a folder is a permanent action that cannot be undone. The forms in the folder will not be deleted, but moved out of the folder and displayed with the other unorganized forms.